

You can log in to the Windows server console on the hosting remotely without using a password. To do this, use the SSH authentication method using RSA keys. This method is more convenient to use and also safer.
This article describes the setup procedure when connecting from a Windows computer using the PuTTY client.
To configure this authentication method, you should do the following steps:
- Download and install the PuTTY client for your OS version
- Create a
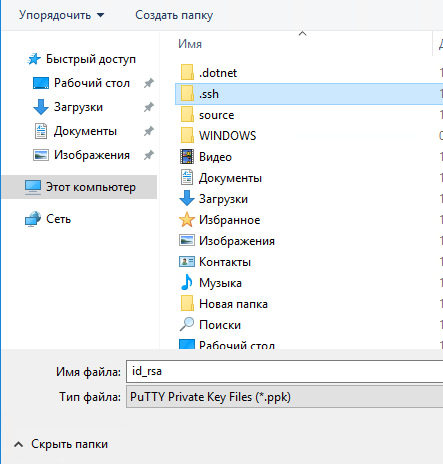
.sshfolder in the home folder of the current Windows user.
For example, c:\Users\user\.ssh
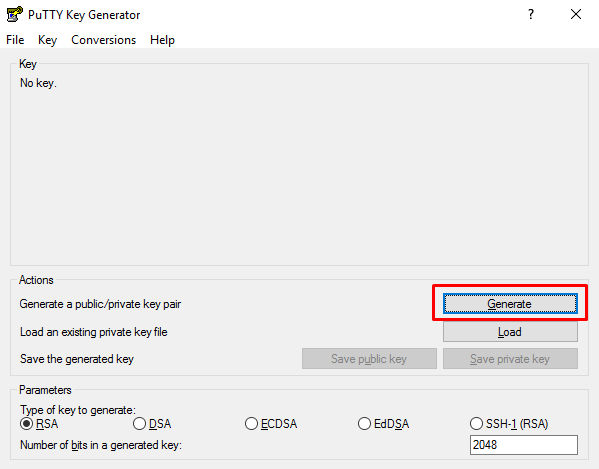
- Run the
puttygenutility, which is included in the installation kit PuTTY.
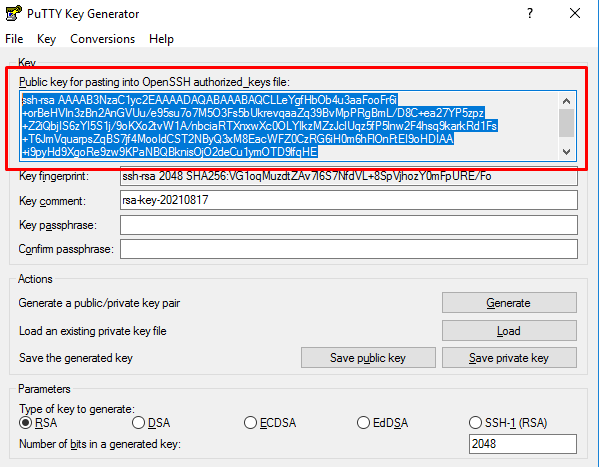
- In the utility window, click the Generate button
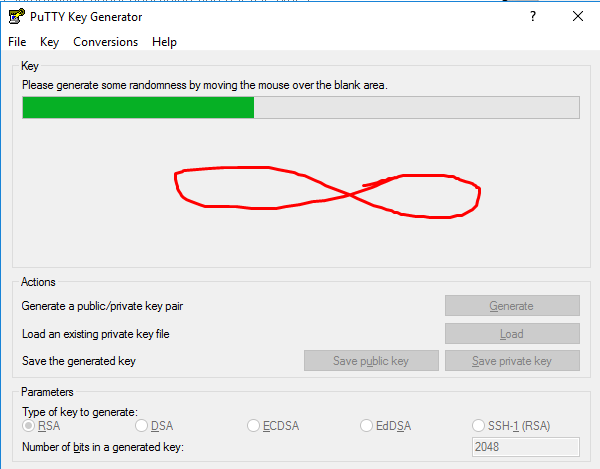
- Next, you need to spend the mouse a few random movements over the utility window to randomize the generator until the key is generated.
- When the key is generated, click the Save private key button in the window.
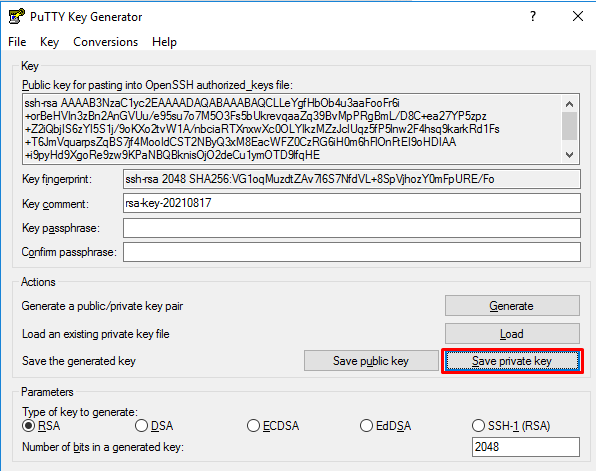
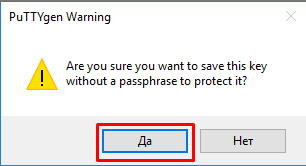
- The offer to save the file without additional password protection can be confirmed.
- Save the file to the folder (created earlier) c:\Users\user\.ssh named id_rsa.ppk
Attention! The private key file must be protected from unauthorized access. Make sure that this file is not compromised
Next, you need to transfer the contents of the public key to the file /root/.ssh/authrized_keys of the server on the hosting.
- To do this, first copy the contents of the public key to the clipboard
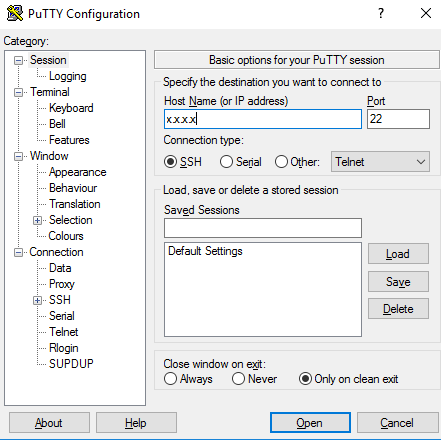
- Run the PuTTY utility
- Enter the IP address of the server on the hosting, the root login and the password that was received when activating the service
Next, in the Linux server console, execute several commands sequentially:
- Create a folder
~/.ssh(if it doesn't exist)
- Assign permissions for the folder
Add the public key to the file ~/.ssh/authorized_keys, paste the contents of the public key copied earlier to the clipboard into the argument of the echo command (in quotes)
- Apply strong access rights to the file
- Next, run the
pageantutility (PuTTY Authentication Agent) from the PuTTY installation kit on your computer
The icon of the running PuTTY agent will be displayed in the system tray.
- Double click on it and add the previously created private key from the file c:\Users\user\.ssh\id_rsa.ppk

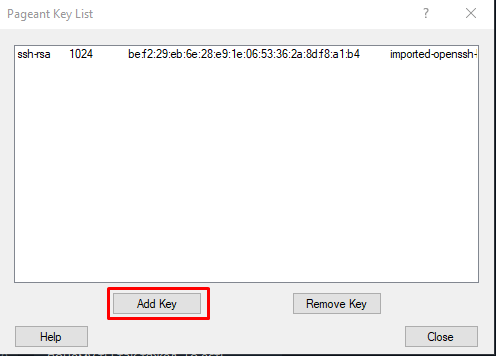
- If everything went well, then the procedure for connecting passwordless SSH key authentication is completed. You can run the PuTTY utility. And while the agent with the connected private key is running in the system tray, the login to the remote server on the hosting will be performed transparently without entering a password.
To configure SSH connection for Linux (MacOS), see the Knowledge Base article