
Visual Studio Tips & Tricks — Navigation
This is the first in a series of articles designed to highlight the various features of Visual Studio that may or may not be well known to every developer using it. At least once a month, a colleague will introduce me to a feature they use daily, that I had no idea existed but could save me countless hours over the length of a project.
This article is about navigation in Visual Studio, something that can be an incredibly frustrating experience when working on a large solution with dozens of projects. The version I am using is Visual Studio 2022, so the features may not be there on older versions.
Go to All — Ctrl + T
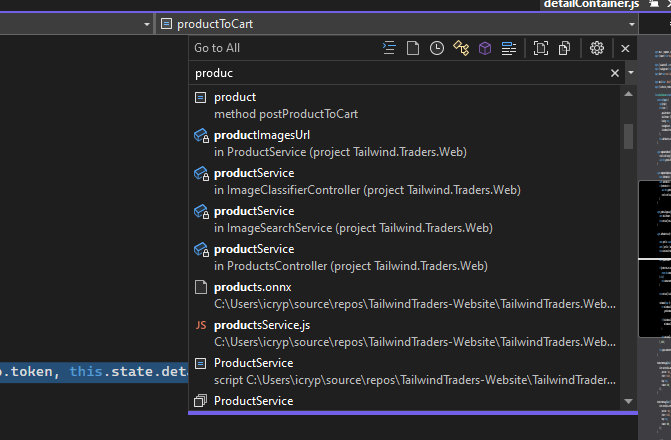
This is the bread and butter of navigation in Visual Studio. Simply highlight a word, press Ctrl + T (It can also be entered manually after pressing Ctrl + T) and you will be presented with a list of matching items from every project in the solution. It can search for file names and classes directly while being incredibly fast. Selecting any item in the list will open it in the main window.
This is by far my most used feature in this list. It feels a lot more seamless than using the find tool, shaving precious seconds from each search.
Find All
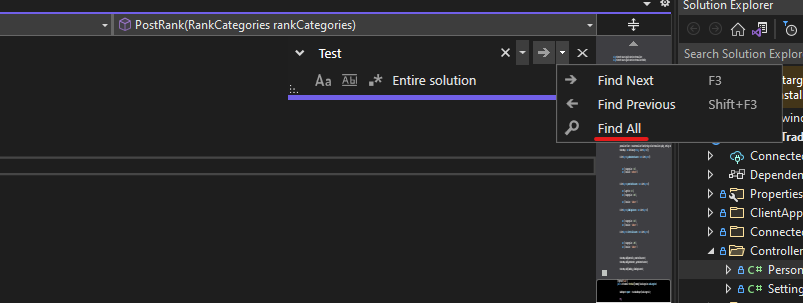
This is probably an obvious one, but I’ve found many developers opt for using the “Find Next” instead of “Find All”. The downside of Find Next is its poor performance when searching anything more than the current document. While it may seem unintuitive to search everything for a speed increase, I’ve found that Find All is infinitely faster for finding something in a project or solution.
Go to Definition
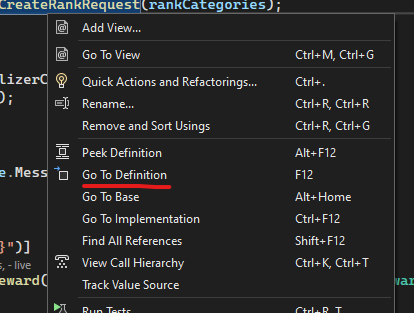
This one is another that I use countless times a day. Whether it’s a property, variable, class, method, interface or several other types, it will take you to the point it was defined. This is a great shortcut for going to class definitions or for finding the point a specific property/variable is declared.
By default, holding Ctrl and clicking will take you to definition (although it will sometimes need to be enabled in Tools -> Options -> Text Editor ->General ->Enable mouse click to perform go to definition). Alternatively, just right click on the item and click “Go to definition”.
A special mention for “Go to Implementation” which allows you to find all implementations of a base class or interface.
Peek Definition
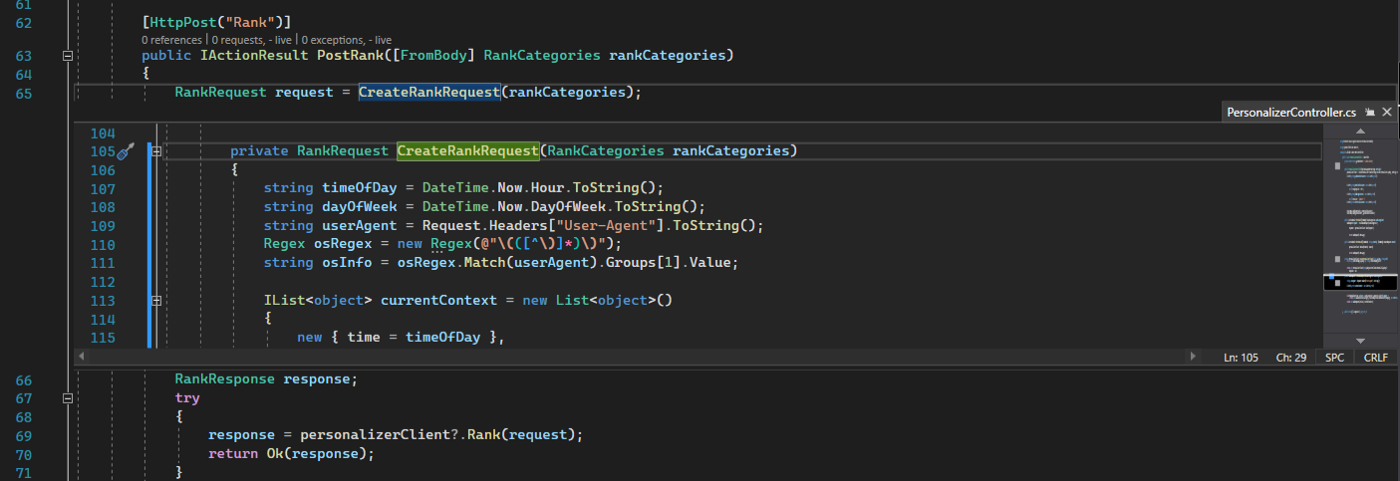
While I don’t use this one as much as the others, it definitely deserves a place in this article. Peek Definition works similarly to Go to Definition, however, the difference is that it doesn’t navigate to the definition. Instead, it creates a window at that line with a preview of the definition.
This is great if you want some information from a different file (Or even the same file) side by side with the code you are writing.
Bookmarks

If managed properly, bookmarks can greatly speed up your coding time when working on multiple methods or files simultaneously. The idea is that you place bookmarks at strategic points in your code (using Ctrl + K + K) and swap between them using Ctrl + K + N for Next or Ctrl + K + P for Previous.
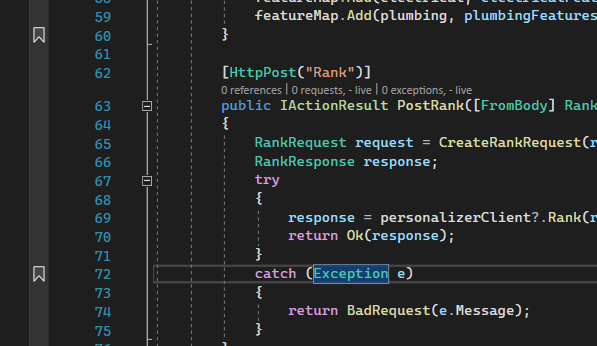
This works very well if you spend a lot of time going between methods, however, you must make sure to manage your bookmarks and delete them when not needed. Otherwise, they will persist and you will end up jumping to the last one you entered the next time you attempt to use them.
Scroll bar (Map mode)

This one is more of a passive improvement that will help you navigate a single file quicker by showing an overview of the document. Anything highlighted in the document will be highlighted on the overview, including errors, warnings and text in the find box. It also has an optional preview window that allows you to view that section on hover.
It can be enabled by going to Tools -> Options -> Text Editor -> All Languages -> Scroll Bars -> Use map mode for vertical scroll bar


