

Each plan ASP.NET hosting includes support for e-mail service for the domain. To activate mail for a domain, just create a mailbox for the domain. To do this, follow these steps:
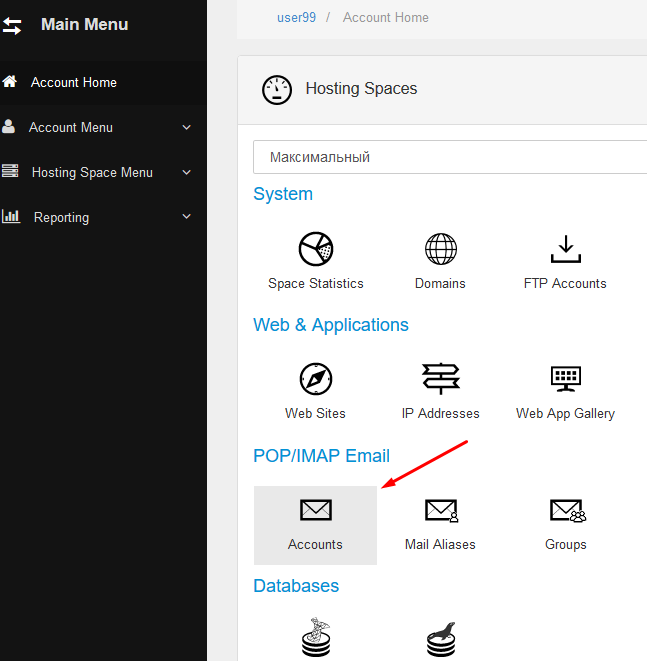
1. Go to the section POP/IMAP Email
2. Click "Create Mail Account" button
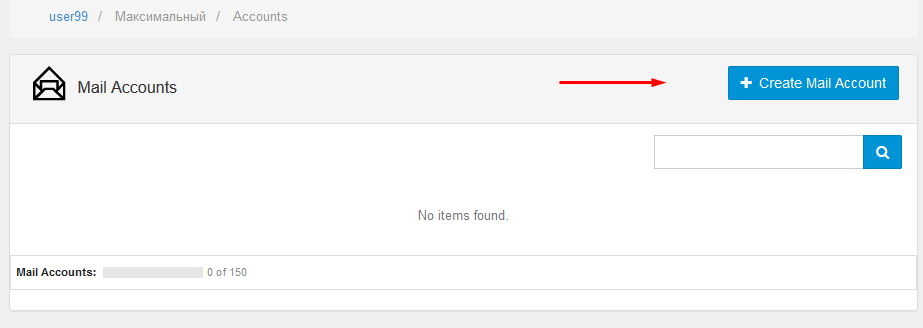
3. Enter the mailbox name, password and click "Save"

4. Check the correctness of the domain settings for receiving mail

- The correct domain settings for mail:
MX record - mail.<your_domain_name>
mail.<your_domain_name> - 91.238.103.67
5. To configure sending mail on the site, use the following settings:
- SMTP-server - localhost
SMTP-port - 25
Use SSL/TLS - no
- Login / Password - credentials of any created mailbox
6. To connect mail clients to the client's e-mail, use the following settings:
- Server IMAP - mail.<your_domain_name> port 993 SSL/TLS
- Server SMTP - mail.<your_domain_name> port 465 SSL/TLS or port 587 STARTTLS
Attention!
Email clients may sometimes report a certificate name mismatch by a notification similar to an error when connecting, In fact, there is no error here, you can just accept the trust in the specified certificate. Alternatively, in the connection settings, instead of mail.<your_domain_name> use the real server name - scp.realhost.pro, it is this name that the certificate is installed on the mail server with. A non-compliance message will no longer appear.